Best Practices for Accurate Soil Sampling in the Field
Accurate soil sampling is the foundation of successful crop management, environmental studies, and land development projects. Proper sampling techniques ensure that test results reflect true soil conditions, enabling informed decisions about irrigation, fertilization, and land use. However, achieving accuracy requires more than collecting soil—it demands a systematic approach and the right tools. This guide outlines the best practices for accurate soil sampling in the field, equipping you with the knowledge to gather reliable data every time.
Define Your Sampling Goals

Before you start collecting soil samples, identify the purpose of your project. Are you testing for nutrient levels, pH, or contamination? Each goal may require different sampling methods, depths, or frequencies. By clearly defining your objectives, you’ll ensure that the samples you collect are relevant to your specific needs. Proper planning helps avoid errors and allows you to make the best use of your time and resources.
Choose the Right Time for Sampling
Timing plays a key role in collecting accurate soil samples. Aim to collect samples during stable weather conditions, steering clear of periods with heavy rain or drought. Extreme weather can affect soil moisture and nutrient availability, leading to misleading results. The best times to sample are typically in the spring and fall, when soil conditions are more consistent. Regular sampling throughout the year provides a comprehensive view of soil health over time.
Divide the Field Into Zones
For larger fields, divide the area into manageable zones based on factors such as soil type, topography, and previous management practices. Sampling from uniform zones ensures that results accurately represent the conditions of each area. Avoid mixing samples from vastly different zones, as this can dilute the data and obscure critical insights. Mapping zones ahead of time streamlines the sampling process.
Use the Correct Sampling Depth
The depth at which you sample depends on your objectives. For most agricultural purposes, a depth of 6 to 8 inches is standard, as this represents the root zone for many crops. However, if you’re assessing contamination or subsoil properties, you may need to go deeper. Consistency in sampling depth is important for accurate comparisons, so consider marking your tools with depth indicators to ensure uniformity.
Randomize Sampling Locations
To ensure your samples are representative, choose random locations within each zone, rather than targeting specific spots. Avoid areas with obvious anomalies, like near trees, fences, or irrigation equipment, unless these are relevant to your study. Random sampling minimizes bias and provides a more accurate representation of overall soil health.
Collect an Adequate Number of Samples
One sample rarely tells the full story. Instead, collect multiple subsamples from each zone and combine them to create a composite sample. This approach balances out variability and improves accuracy. The number of subsamples needed depends on the area’s size and complexity, but generally, 10 to 15 per zone is best. Larger zones may require additional samples to ensure reliable data.
Use Clean Tools and Containers
Using contaminated tools or containers can compromise the integrity of your samples. Clean all your equipment thoroughly before use and avoid using containers that previously held chemicals or fertilizers. Stainless steel or plastic tools are ideal, as they’re easy to clean and less likely to react with the soil. Keeping your tools clean helps guarantee that your results reflect the true condition of the soil.
Handle Samples With Care
How you handle soil samples after collection is just as important as the sampling process itself. Store samples in clean, moisture-proof bags or containers, and label them clearly with relevant information, such as the zone, depth, and date. During transport, avoid exposing samples to excess heat, sunlight, or moisture. Proper handling preserves the sample’s integrity for accurate testing.
Avoid Contamination During Sampling
Contamination is one of the most common pitfalls in soil sampling. Avoid touching the soil with your hands, as oils and residues can alter results. Make sure your tools are free from any residues, and ensure the sampling area is clear of debris, such as leaves or litter. Even small amounts of foreign material can significantly affect test outcomes.
Monitor Soil Moisture Levels
Soil moisture impacts the ease of sampling and the accuracy of certain tests, such as nutrient availability. Aim to collect samples when the soil is moist but not saturated. Excess water can dilute nutrient concentrations, while dry soil may make it harder to collect samples and could lead to incomplete results. Monitoring and adjusting for soil moisture ensures reliable data.
Prepare for Laboratory Analysis
High-quality laboratory results depend on submitting quality samples. Follow the lab’s guidelines on sample size, storage, and submission, and provide them with detailed information about sampling conditions and objectives so they can tailor their analysis to your needs. This preparation reduces errors, ensuring the lab’s analysis is relevant and actionable.
Record Field Data
Make sure to keep detailed records about your sampling process, including location, date, weather conditions, and any observations about the soil or vegetation. Documenting this information provides valuable context for interpreting lab results. Digital mapping tools or field notebooks can help streamline this process, and comprehensive records improve the reliability of your soil analysis.
Repeat Sampling Regularly
Soil conditions change over time due to factors such as weather, fertilization, and crop rotation. Regular sampling allows you to track these changes and adjust management practices accordingly. Annual or biannual sampling is best for most agricultural applications. Consistency in timing and methodology allows meaningful comparisons between sampling events.
Invest in Training and Expertise
If you’re new to soil sampling or working on a complex project, consider seeking training or consulting with experts. Professional guidance can help you refine your techniques, choose the right tools, and interpret results accurately. Many cooperative extension offices and agricultural organizations offer resources and workshops to help you get started. Investing in expertise will improve the quality of your soil sampling efforts.
Use High-Quality Soil Sample Collection Tools

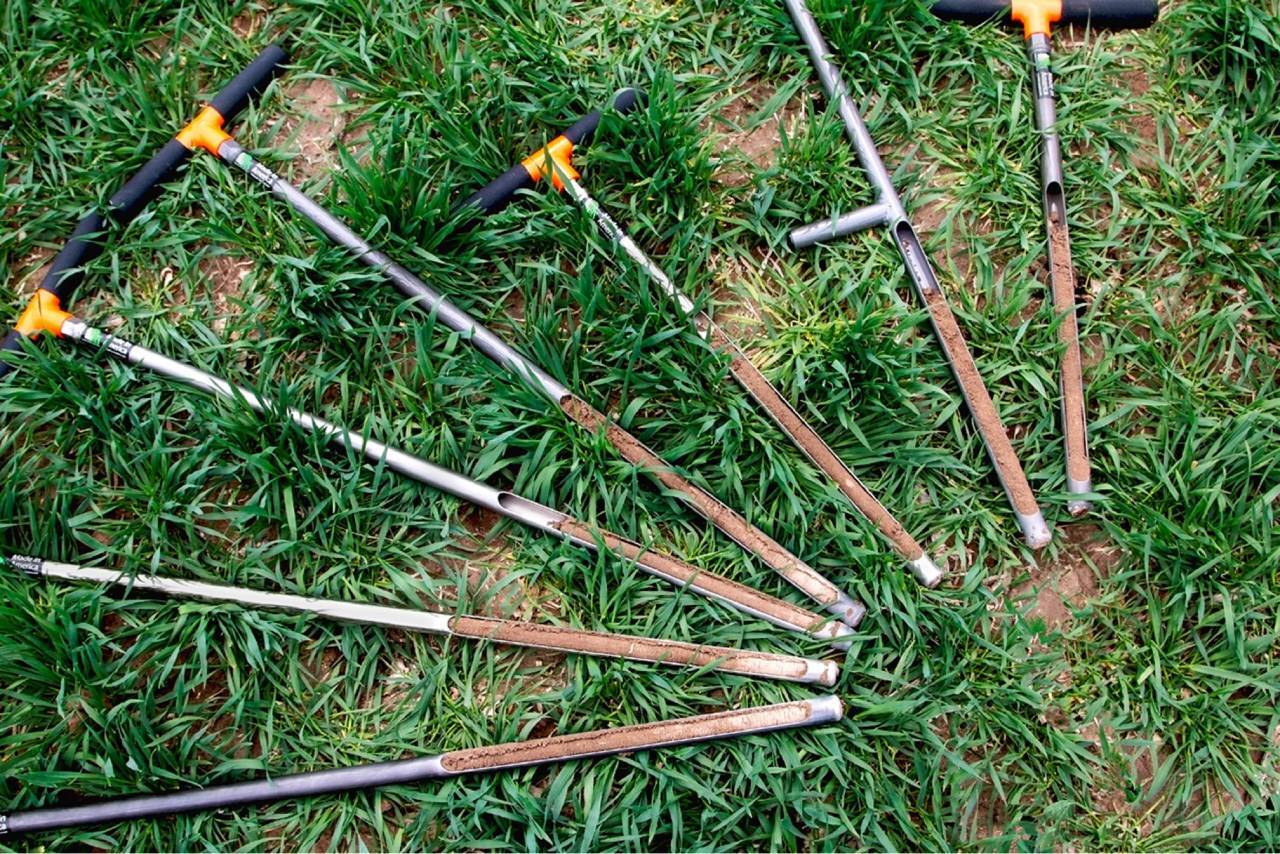
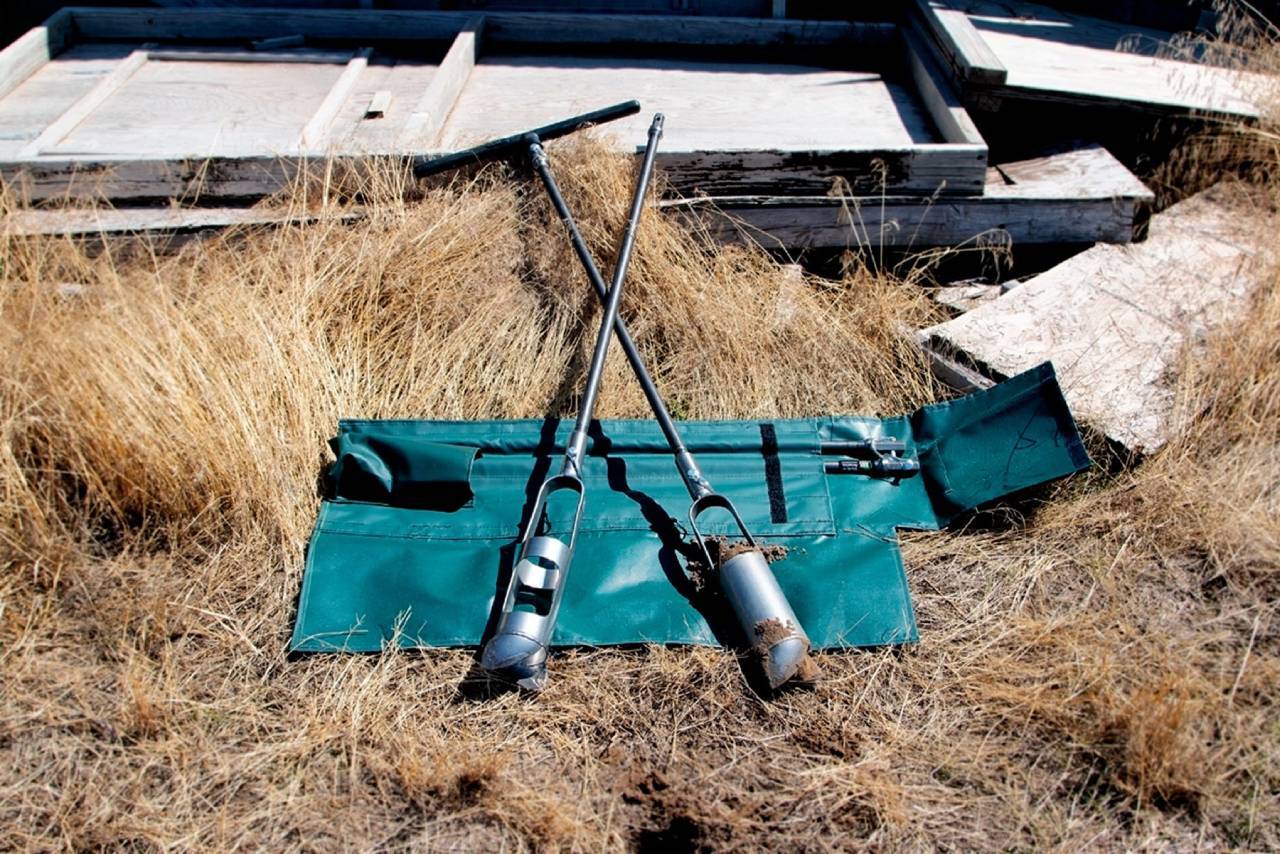
The right tools make all the difference in accurate soil sampling. High-quality soil sample collection tools, such as soil probes, soil augers, and core samplers, ensure consistency and ease of use. Durable materials and ergonomic designs improve efficiency and reduce the risk of contamination. Investing in reliable tools simplifies the process and enhances the accuracy of your results. Partnering with trusted suppliers ensures you have access to the best equipment for your needs.
Now that you know the best practices for accurate soil sampling in the field, you can confidently implement techniques to get reliable results. By following these guidelines, you’ll make informed decisions that enhance soil health, crop performance, and overall project success.
Recent Posts
-
Soil Sampling’s Impact on Climate Change Research
Soil is one of the most important resources on the planet, playing a critical role in agriculture, c …February 17, 2025 -
Why Sludge Sampling Is Key for Wastewater Management
Effective wastewater management is a cornerstone of environmental protection and public health, and …February 13, 2025 -
7 Soil Sampling Techniques: Basics to Advanced Tools
Understanding soil composition is essential for scientists, engineers, and remediation professionals …February 11, 2025


